For a while now, I have wanted a Polaroid camera to use when out and about. I didn't specifically ask for one for Christmas, but luckily for me, Tom was paying attention to what I had my eye on throughout the year and this little printer was one of them.
Come Christmas morning, I got a lovely little surprise when I unwrapped this absolutely delightful little photo printer from Canon. Seeing as I've used it a few times now, mainly as a demo for those who wanted to know what it was and how it actually printed the pictures, I thought I'd write a blog post about what I thought to it. I hope you find it useful if you're looking to get one yourself.
Setting up the printer
The Canon Selphy Square Photo Printer works by connecting to your smartphone or smart device via an app. You download the app and it tells you what to do from there, including where and how to insert paper and ink cartridges.
Setting up the printer is really very quick, simple and easy, which I didn't really expect. I thought the set up would be far more complicated and convoluted, but it really is very straightforward, so you'll be printing out your images in no time.
Inserting the ink cartridge & sliding in the paper
The ink cartridge is inserted on the side of the printer and that's very simple to do, once you establish which way round it should go. The instructions on the app will tell you which way to put the cartridge, but when it comes to slotting in a new one, the app can't help you, haha. Just remember which way round the old one went in and you should be fine :)
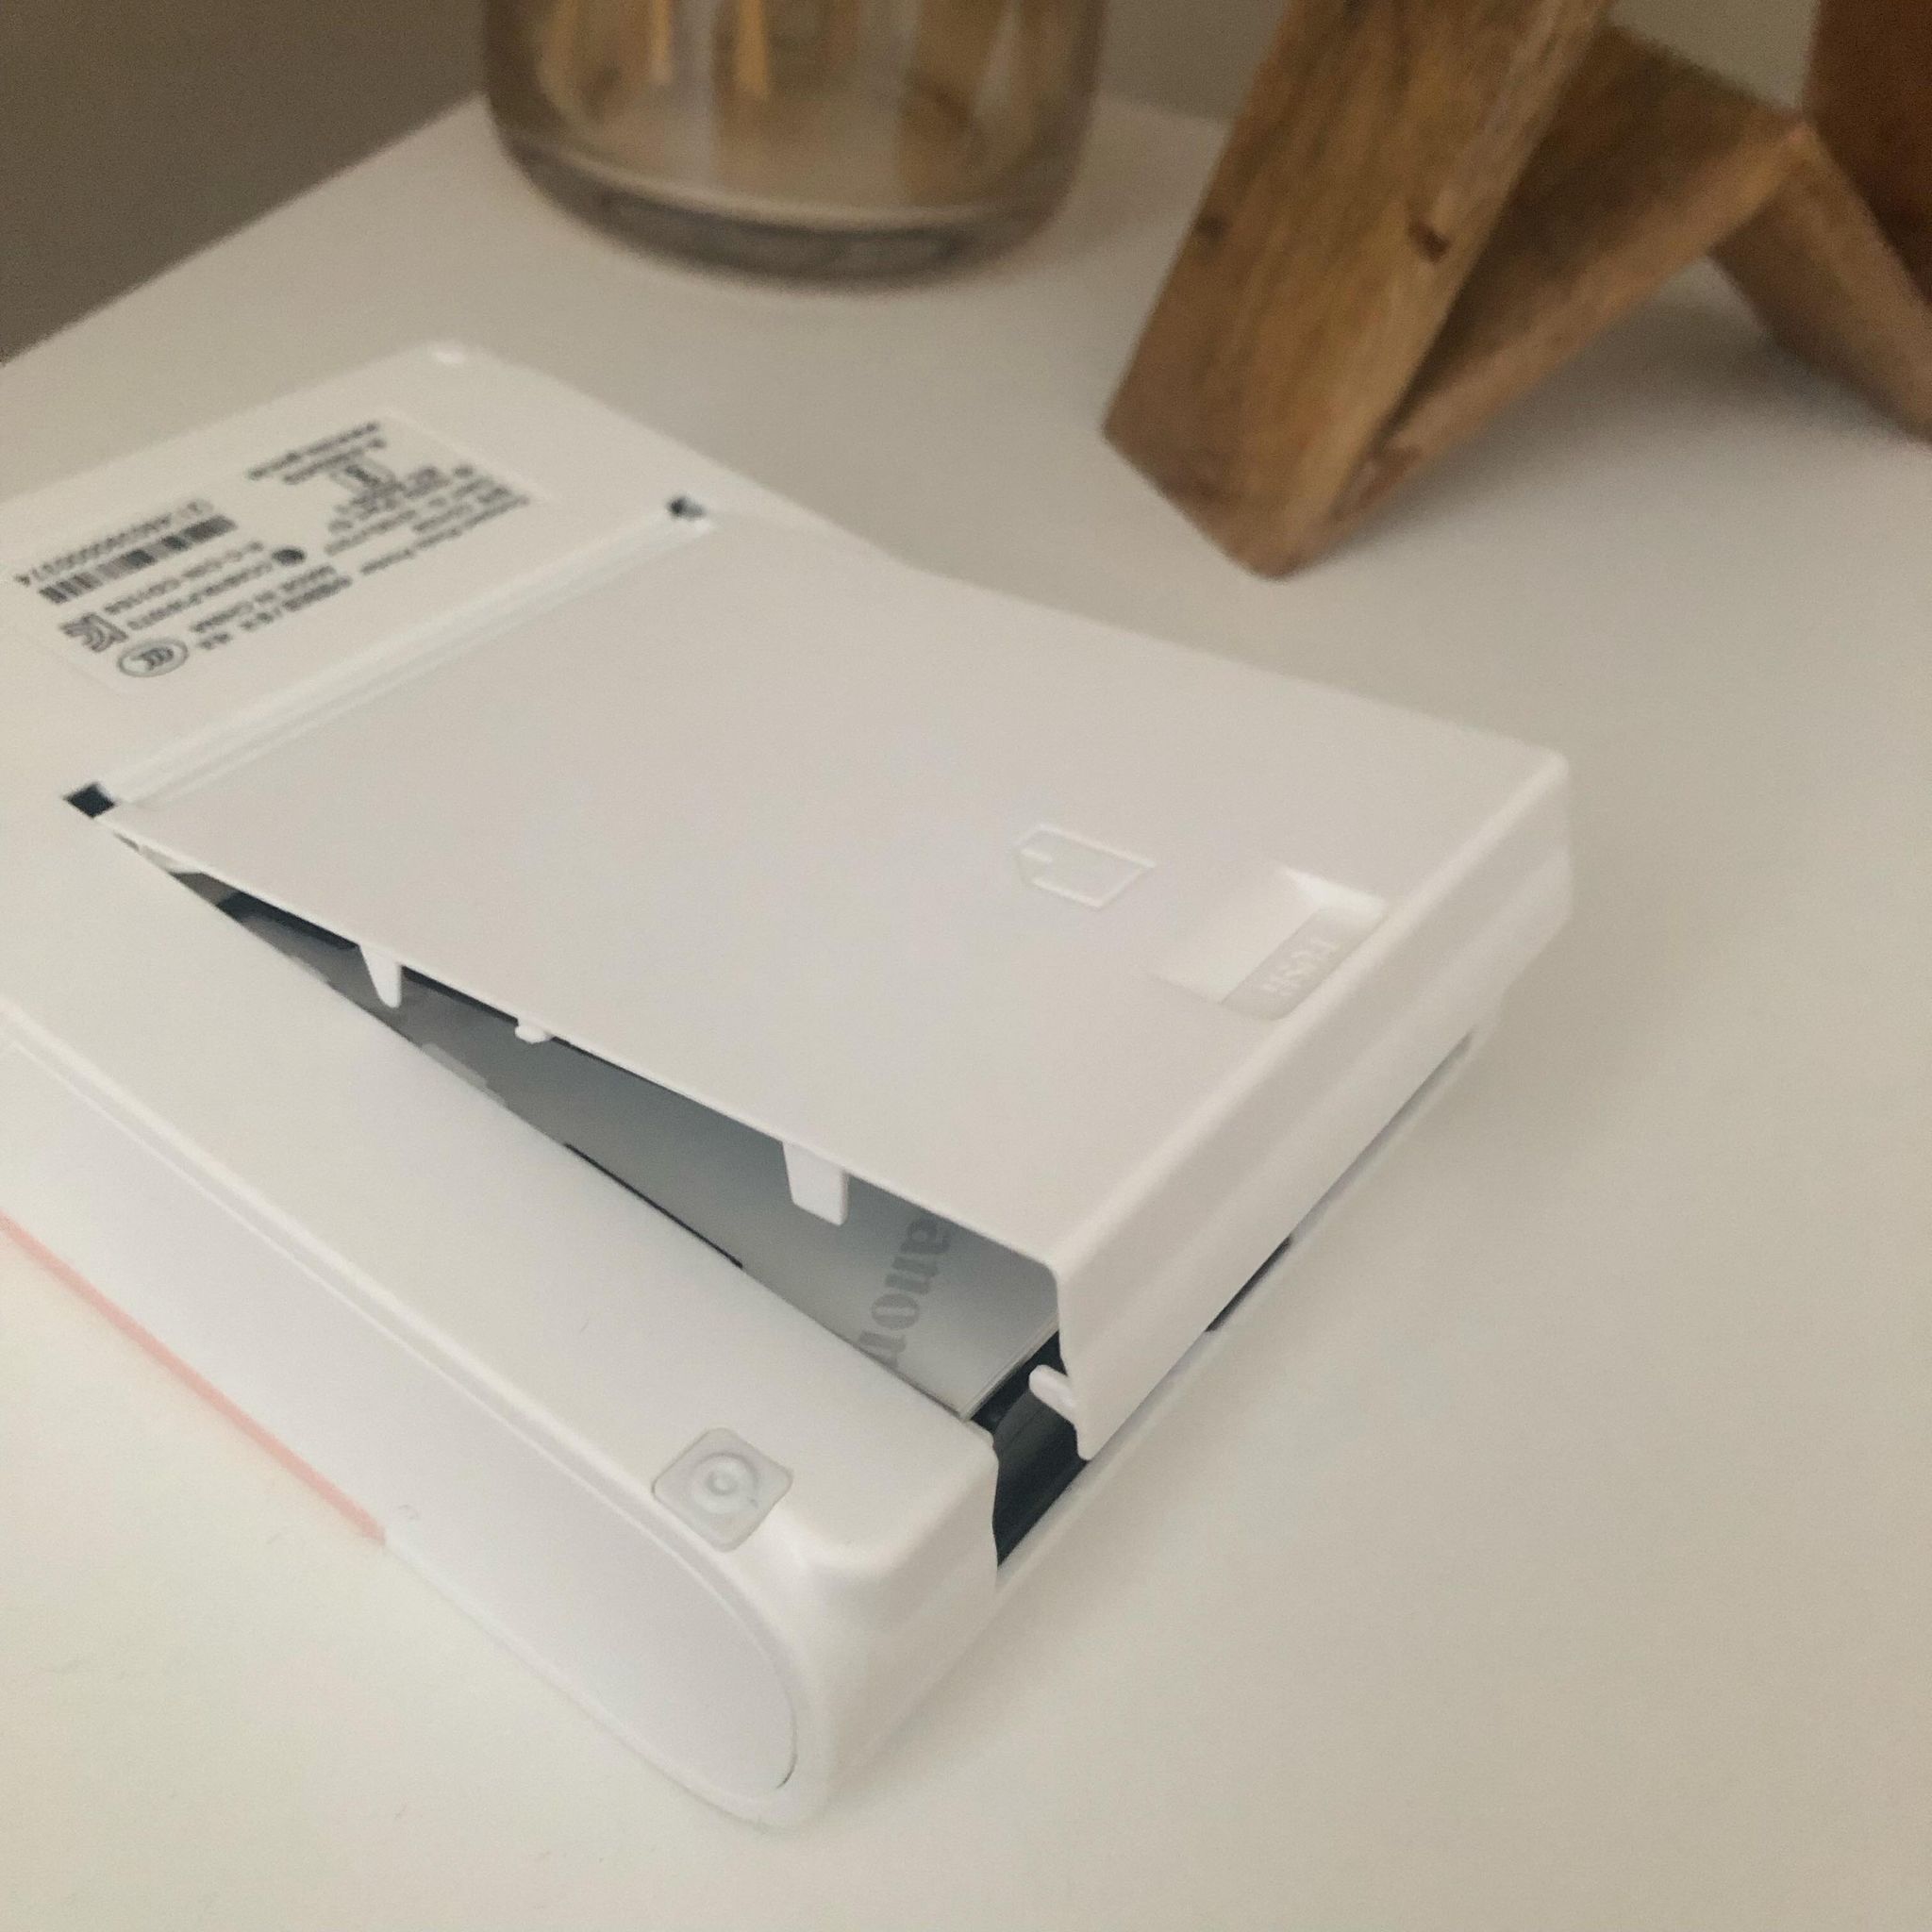
The paper is loaded via the underside of the printer. If you pick it up and turn it over, you'll see a little button that says "push". Press the button down and the flap will spring open. This is where you add the paper. Make sure the side that's facing upwards has 'Canon' written all over it and line it up with the circles on the inside of the printer.
Once you're done, press the flap back down and make sure it's secure before trying to print your photo. Adding the paper is probably the easiest part of the whole thing, you can't really get it wrong. Once you've done all of the above, you're good to go!
Selecting & editing images to print
Much like how you'd select and edit a photo to put on Instagram, this works in much the same way. Once your printer is all set up, you'll be able to choose an image from your camera roll, upload it to the app and edit it accordingly.
There are options to add filters and text as well as stickers and other things. You could spend ages going through the different settings that are available, but I like the filter that makes the picture look as though it's actually been printed by a Polaroid camera. Once you've got your picture how you want it, you're ready to send it to your printer for production.
Printing your photo
You'll be prompted to print your image once you've made all of the edits you want to make. This is the fun part. You'll then be able to watch your printer produce your Polaroid. This doesn't happen in an instant. The printer works by adding layers of different coloured film over the top of your image.
One will be yellow, another will be pink and so on until it's built up the right colours to produce your photo as you wanted it. The last layer is a protective film to make sure the image doesn't become damaged or smudged etc.
Although you'll have to wait for around 30 seconds before your picture is ready, you don't need to faff around putting it in the fridge or in a dark place to develop, like with older Polaroid photos. They're instant and can be handled straightaway.
Polaroid camera vs. the Canon Selphy Square Photo Printer
I have friends and family who own Polaroid cameras and although they look great and they're very good in terms of instant images that come out without any editing, I feel like this little printer gives you more of a chance to print photos that are years old or have been taken on your phone with all of the right lighting etc and then printed to put in albums or frames in an instant. You don't have to wait for the perfect occasion to take a photo because you've probably already got a heap load of photos that would be perfect for the family album.
The only issue with this, however, is that you'll likely get through film like there's no tomorrow. When I say 'film', I mean paper. Although, the paper for the Canon Selphy Square Photo Printer is actually quite a bit cheaper than the paper needed for an actual Polaroid camera.
For a pack of 36 papers and an ink cartridge, it costs around £17 to load up your Canon Selphy Square Photo Printer. Whereas for an Instax Mini camera, it's around £18 for 20 lots of film. If you have a Polaroid Now Instant Camera, then a pack of film with 8 shots is £15. So the Canon Selphy Square Photo Printer is the most cost-effective option if you're looking to save money in the long run.
All in all, considering convenience and cost-effectiveness in the long run, I'd totally recommend the Canon Selphy Square Photo Printer over an Instax Mini camera or a Polaroid Now camera, especially if you're after more polished photos.
If you love the old fashioned notion of not knowing what a photo will look like till it comes out, then a Polaroid would be the better option for you. It really does just depend on you as a person and what you want to get out of it.
***
I hope you enjoyed this blog post? Let me know in the comments below whether you have one of these new Selphy printers from Canon and I'll see you again very soon with a brand new blog post :)
***
WHERE TO FIND ME
Twitter
Instagram
Pinterest
'Like' Us On Facebook!
PREVIOUS BLOG POST
How to Get Back into the Swing of Things After Christmas
COPYRIGHT INFORMATION
Disclaimer


Comments
Post a Comment