Homemade Scones: Sweet & Savoury

With Mother's Day just around the corner, I thought that this would make a great gift idea for those of you who are on a budget. That is of course if you're Mum likes scones ;) I bought these cute boxes from Sainsbury's, I thought they were perfect for gifting baked goods.

Obviously, you can make these for yourself instead if you already have Mother's day sorted, or you could just give them a try if you're bored and stuck for things to do. Either way, they taste delicious and I'm sure that, whoever they're for, everyone will like them!
I have included two recipes in this blog post. One will tell you how to make cheese scones, and the other will advise you on how to make fruit scones, so there's something for everyone in this post :) Lets get started shall we?
Prep Time: 20-30 minutes
Cook Time: 12-15 minutes
Serves: 6-9
(depending on how big/small you'd like them to be)
This info is relevant for both recipes.
CHEESE SCONE RECIPE
WHAT YOU WILL NEED


*55g Butter
*25g Mature Cheddar Cheese
*150ml Milk
*Pinch of Salt
METHOD
STEP 1: PRE-HEAT THE OVEN & PREP THE BAKING TRAY(S)
Firstly, you need to set the oven to 220C (425F/Gas Mark 7). You must them grease a baking tray with butter, alternatively, you can line it with grease proof paper/parchment paper.
STEP 2: RUB THE FLOUR & BUTTER TOGETHER
Place the flour in the bowl (together with the pinch of salt) with the butter. With your fingers, rub the two things together until it turns into a somewhat crumbly consistency.

STEP 3: STIR IN THE CHEESE & ADD THE MILK
Put all of the cheese into the bowl and mix in, after that, pour the milk in and mix until the ingredients turn into dough.


STEP 4: KNEAD & CUT OUT THE DOUGH
Lightly flour a clean, flat surface and tip the dough out on to it. Knead the dough carefully and when ready, roll the dough out to around 2cm thick. Once you're happy with the dough, cut some out using a round cutter and place them on the baking tray. repeat this step until you're no longer left with any dough.


STEP 5: PREP FOR THE OVEN
Brush the top of the scones with milk, and if you so wish, you can sprinkle a little more cheese on top. Then pop them in the oven for 12-15 minutes until they've risen well and look golden in colour.

When you take them out, place on a cooling rack and serve :)
FRUIT SCONE RECIPE
WHAT YOU WILL NEED


*225g Self Raising Flour
*75g Butter
*40g Caster Sugar
*50g Mixed Dried Fruit (Rehydrated)
*1 egg (beaten)
*3-4 tbsp. Milk
*1 tbsp. Icing Sugar
METHOD
STEP 1: PRE-HEAT THE OVEN & PREP THE BAKING TRAY(S)
Ensure you preheat the oven to 220C (425F/Gas Mark 7). Prep the baking tray(s) by greasing them with butter, or you could use parchment/grease proof paper to line the tray.
STEP 2: PUT THE DRY INGREDIENTS & THE BUTTER INTO A LARGE MIXING BOWL
It's important that you sift the flour in, and not just dump it in as it is, the dough will be a lot smoother, and it'll be less likely that beads of flour will get stuck in the dough, even after the cooking process. Add the sugar to that and mix together. Then plonk the butter in and mix with a wooden spoon until you're ready to rub it all together using your hands.

STEP 3: ADD THE FRUIT, EGG & MILK
Pour in the fruit and the beaten egg, then drop the milk in. Instead of using a wooden spoon to mix it together, use a spatula or a butter knife to fold the mixture together. You must continue to do this until the mixture turns into a soft dough. It shouldn't be too sticky or too dry (if it's too sticky, add more flour, if it's too dry, add more milk).

STEP 4: FLOUR A SURFACE THEN ROLL & CUT OUT THE DOUGH
Lightly flour a clean, flat surface, and tip the dough out onto that. Throw some flour over a large rolling pin, and begin to smooth the dough out so it's roughly 3cm thick (minimum).

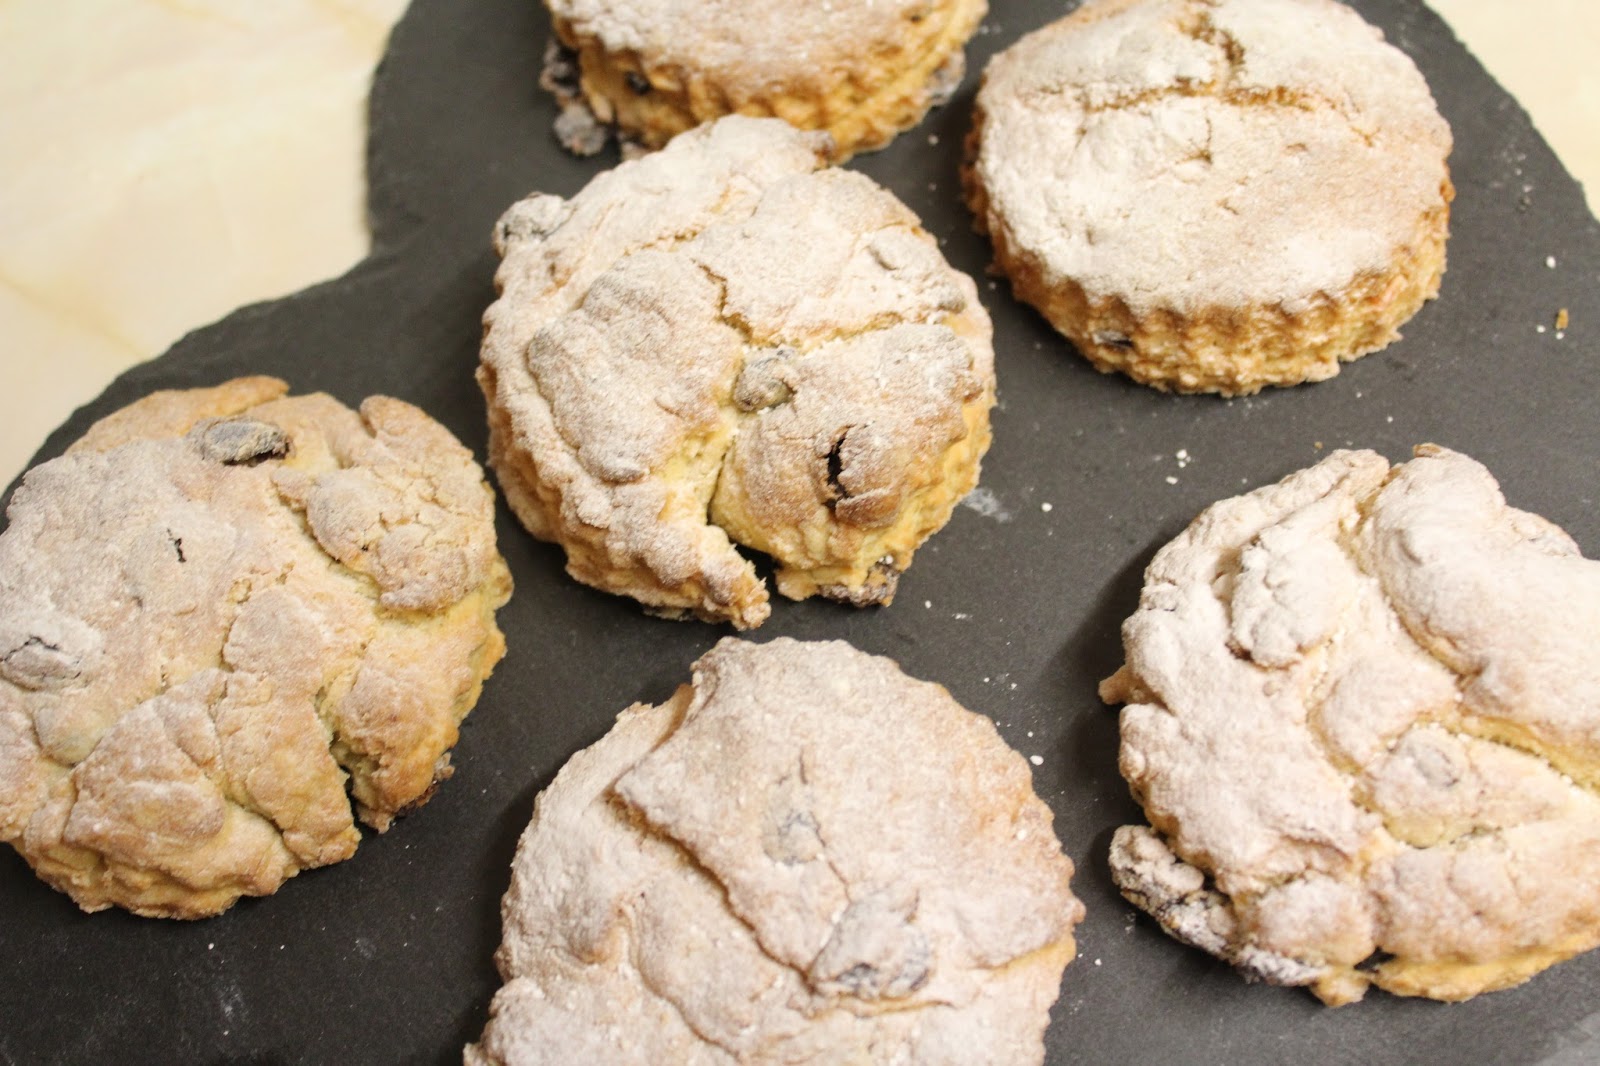
STEP 5: POP IN THE OVEN, LET COOL, AND ENJOY
Put the tray in the oven on the middle shelf, and let cook for 12-15 minutes, or until slightly golden. Once you're satisfied they're cooked, take out of the oven, and leave on a cooling rack until they're a suitable temperature. Sift over some icing sugar, then serve and enjoy :)

I hope you enjoyed this post and that you've had fun both making and eating your scones. I will see you Sunday with a brand new blog post for you :)
________________________________________________________
WHERE TO FIND ME
PREVIOUS BLOG POST: 'Picking the Right University: Top Tips'
Blog post last updated on 17th February 2026


Comments
Post a Comment