Festive Cookies | Twelve Days of Christmas (Day 10)


I used to make these cookies all the time as a child, they're so quick and easy to make, with little mess and fuss. They're fab if you have children because they're also so easy to decorate. You can use this recipe all year round and for whatever occasion you like, but seeing as I have some cute Christmas cookie cutters, I thought I'd use them around this festive season :)
Shall we get on with the recipe then? :)
Prep Time: 5 mins
Cook Time: 10-12 mins
Serves: 20-30 depending on the size of your cookie cutters
INGREDIENTS
100g butter/margarine
100g caster sugar
200g plain flour
1 egg


METHOD
STEP 1
Start by greasing a baking tray, or placing some grease proof paper on top. Then preheat the oven to 180 Degrees/350DF/Gas Mark 4. After this, you can pour the sugar in a bowl, and plonk the butter on top and mix with a wooden spoon until the mixture becomes light in colour and looks fluffy in texture!


STEP 2
Now it's time to add the egg, mix with a wooden spoon until the egg is no longer visible, but the mixture still looks wet and sticky.

STEP 3
Pour all of the flour in via a sieve and gently mix with a wooden spoon until the mixture thickens. Once this starts to happen, begin to mix up with your hands until the mixture turns into a dough.


STEP 4
Wrap the dough ball in cling film and place in the fridge for 15-20 mins.
STEP 5
Lightly flour a clean surface and put the dough ball on top. Sprinkle some plain flour on the rolling pin also and begin to roll the dough to roughly 6-8mm in thickness. Once the dough has been rolled and looks smooth on top, cut out some shapes using any cookie cutters you like.
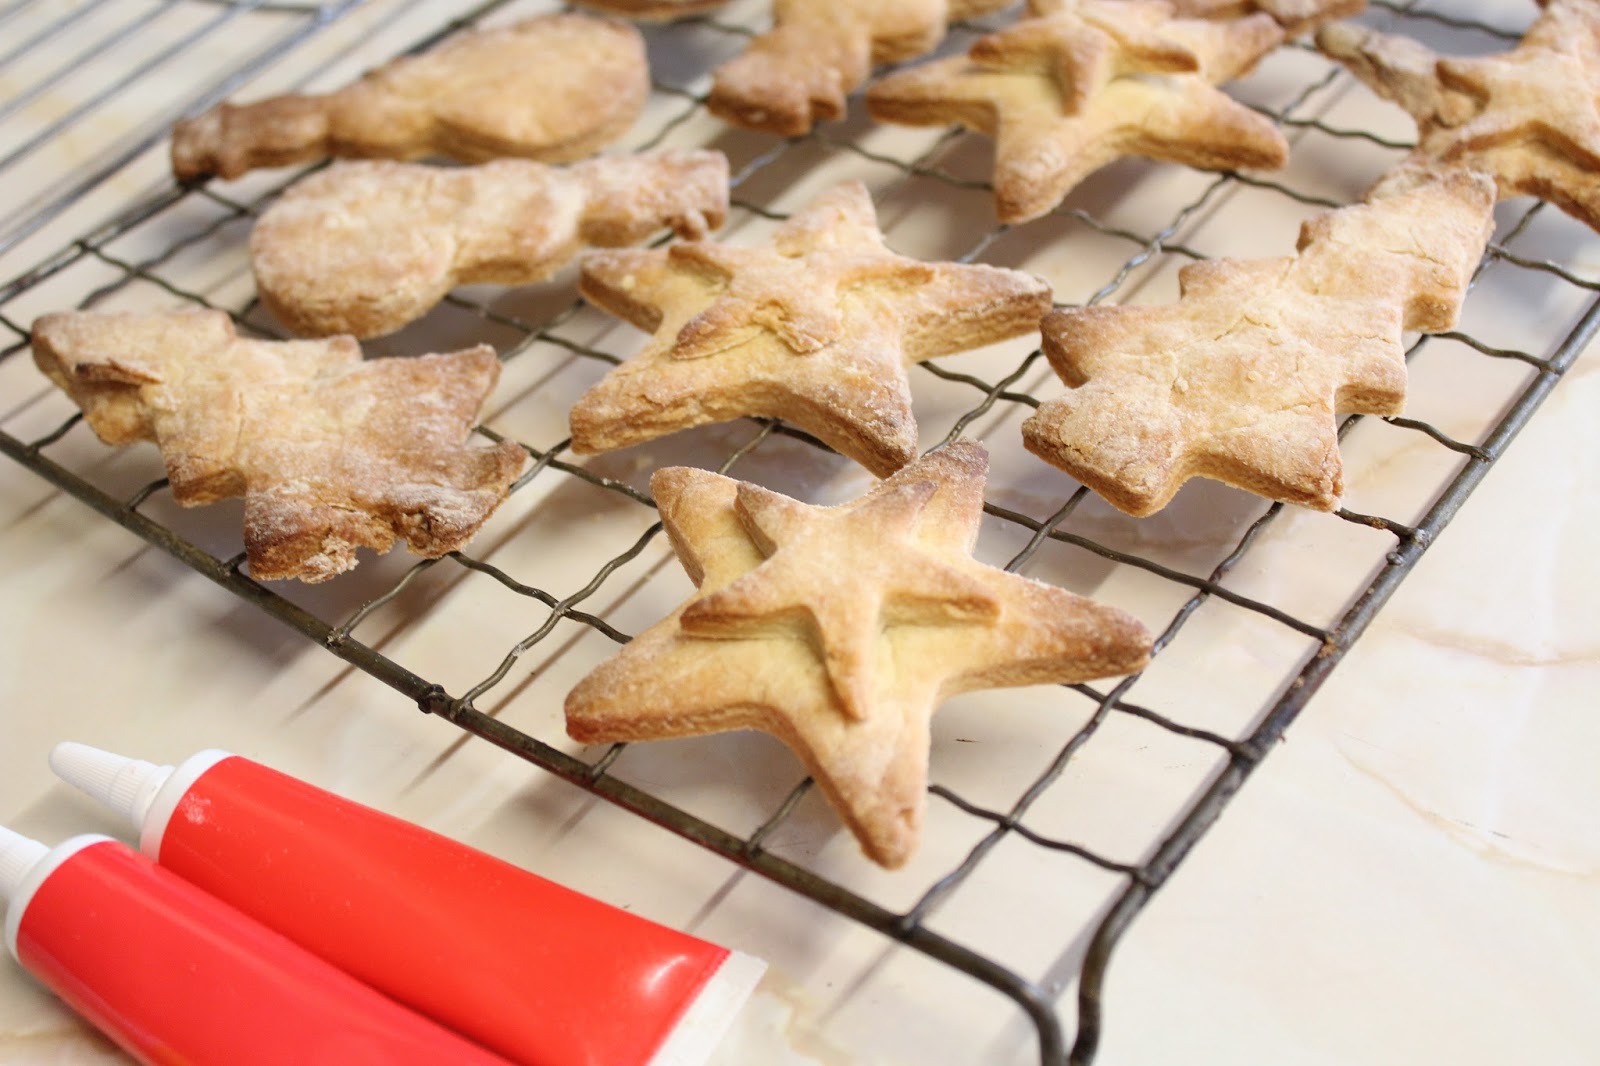
The can be any shape or size, it's completely up to you. I opted for stars, snowmen, gingerbread men (although they aren't ginger flavoured at all) and Christmas trees. If you prefer, you could just stick to round shapes and decorate how you'd like :)


STEP 6
Place the shapes on the baking tray, make sure they aren't touching. Bake them for 10-12 mins or until golden brown. Take them out when ready and place them on a wire rack to cool. REMEMBER don't decorate or ice them while the cookies are warm, wait until they cool to room temperature.

STEP 7
Once they've cooled you can decorate them in whatever way you'd like. If you have time, you could make your own icing and put some food colouring or flavouring on it, but seeing as I was strapped for time, I opted for the pre made tube icing in a few different colours to accommodate for the different designs I wanted to do :)


Let me know if you've made any, I'd love for you to tweet me some photos as well (links to which will be situated below). I will see you tomorrow for day 11 of Twelve Days of Christmas.
MERRY CHRISTMAS!
__________________________________________________
WHERE TO FIND ME
PREVIOUS BLOG POST: TDOC Day 9: 'Our Christmas Tree'
Blog post updated on 16th February 2026


Comments
Post a Comment